I'm not big on New Year's Resolutions, but I do think the new year is a
good time to reflect on you life and make necessary changes. In my
experience in order to make the changes stick I have to implement a new
plan or strategy rather than just making statements like "I'm going to
eat better" or "I'm going to exercise more."
The main thing that I
wanted to change this year was the way that I grocery shop and plan and
cook meals. In the past I have gone to the grocery store very
willy-nilly. I always have a list, but not plan. I just write down
things I think of that we don't have and go buy it. This resulted in
wasted food and large grocery bills. More seasoned housewives are
probably nodding and thinking "duh!" The other problem with my system is
that I never knew what to cook for dinner and/or I didn't have
everything on hand to make a particular recipe. In which case I would
either not cook it or make a midweek run to the store thus spending more
money. So my new system is to plan out a week of meals. In order to
motivate myself I crafted a fun menu board to display in the windowsill
of my kitchen. It is quick, easy, and cute!
You will need a picture frame. I used an old one I had around the house. I took the glass out for this picture because it was reflecting the light from the window weird. You will also need some pretty scrapbook paper, title letters, days of the week letters, and dry erase markers.

Here are close ups of each of my supplies. I was having fun the the macro setting on my camera. :-)
These bottle cap letters are from Hobby Lobby. They were $8! I thought that was a bit much. I thought they were half price, but found out I was wrong when I got to the check out line. I decided to just go for it anyway. It was $8 for a pack of 36 letters, not just the ones pictured here.
The scrapbook paper and menu letters are from my craft stash. Not sure where or when I got them...sorry.
The markers are also from Hobby Lobby. I picked them because I wanted more than one color and because they have a magnet holder included! I think they were about $4.
Here is the finished product! I simply cut the paper to size and used double stick tape to attach the menu letters. Then I attached the days of the week letters with adhesive that was included with the bottle caps. The menu letters are attached to the paper inside the glass. The bottle caps are attached directly to the glass.
The dry erase markers stick conveniently to the back with the magnet. (I used a metal frame)
Here it is with our weeks menu written on it.
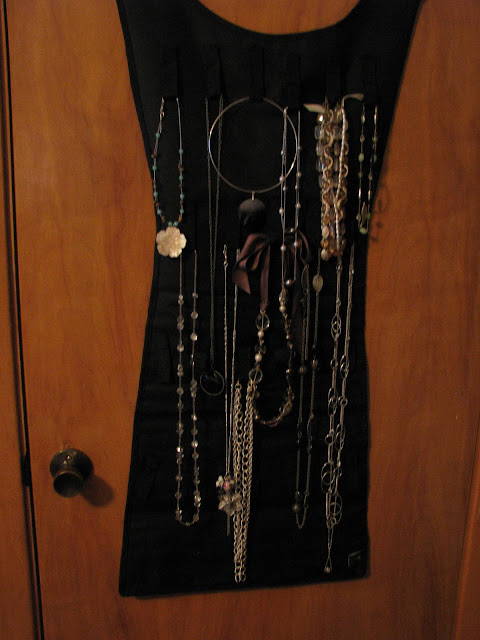
The second new system that I am implementing this year came in the form of a Christmas gift. My in-laws gave me this super cute jewelry storage system. It is called the Little Black Dress Hanging Jewelry Organizer by Umbra It is available from the container store.
I love it because I can see all my jewelry easily and it only takes up the space of one dress.
The other side features pockets for keeping bracelets, rings, etc.
This new organizer will definitely help me avoid the pile of tangled jewelry that usually sat ontop of my dresser. As closet space is at a premium in my house my Little Black Dress will be stored on the back of the bedroom door courtesy of this Command Strip Hook.


Love the menu idea! very clever
ReplyDelete