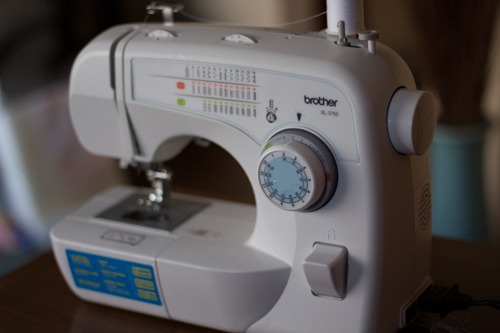
I did have a sewing machine prior to that that I had picked up at a garage sale for $15. It was SUPER old. It came with a servicing receipt from 1963! My old machine was persnickety and more frustrating than fun to use. I did bust it out from time to time. For example, I used it to make the roman shades in our bathroom revamp. Most recently I had tried to use it to make this pillow, but I got so frustrated with my machine being crappy that I ended up sewing it by hand--not fun.
Enter my new shiny flashy machine. I love it. And I love my new baby. So I decided by first project would be something for my babe.

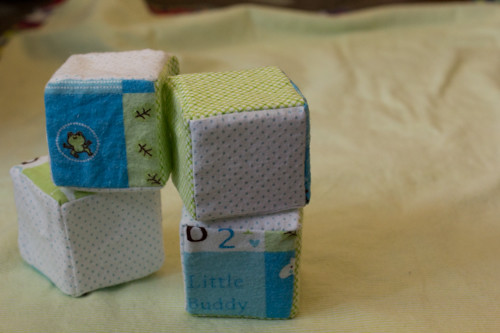
There they are together. I love it how it looks like Max is winking!
It is a fairly simple process. I used felt fabric in three different patterns, but I think more patterns would have been more fun. The foam I got was 3" thick so my blocks are 3" square.

I cut the fabric in 3 1/2" squares to allow for 1/4" seams.

If you don't have a rotary cutter, go buy one now. You will love yourself for it. And sorry for the wonky focus of this photo I was trying out Mr. Mayhem's new 50mm prime lens. I don't quite have the technique down yet.
Once you have all your squares cut, sew two of them right sides together.

You end up with this.
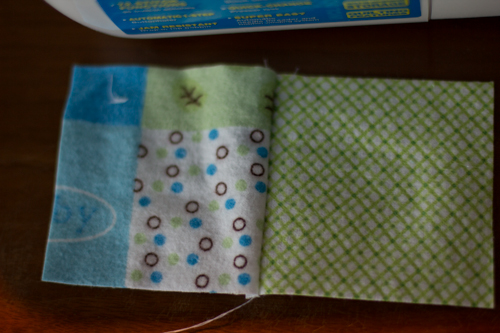
Continue in that fashion until you have four in a row (you need 6 total for each block).
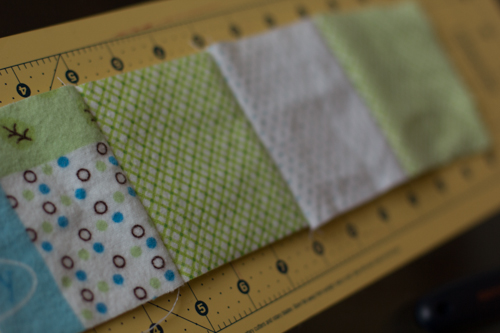
Again with the 50mm lens...sorry. Now, sew one square on each side to make it look like a "T". Remember to keep right sides together.

At this point you are going to start making the cube. Keep sewing right sides together until you end up with this.
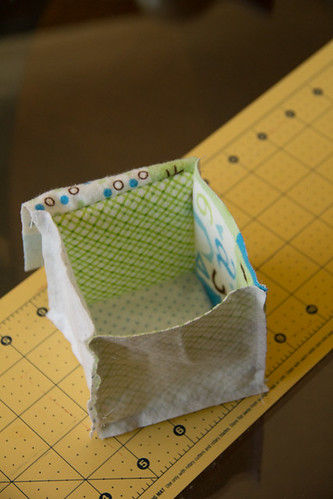
Sew two more sides, but be sure to leave one open to get the foam into. I did sew a little ways on both sides on the machine to get nice corners, but I left a 2 1/2" gap in the middle to stuff the foam through.
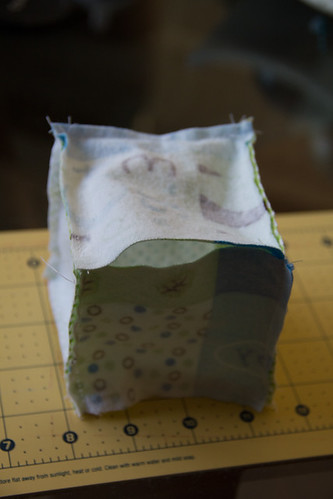
Turn the block right side out! They already look cute.
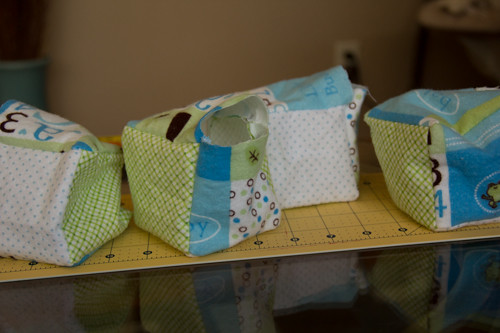
Now it is time to cut the foam. I have been told that the best way to cut it is with an electric knife. I don't have one, so I had to improvise. I used the most fine tooth saw blade I could find from Mr. Mayhem's hacksaw. It worked like a charm. If it is just a serrated knife the foam will be cut jagged and the blocks won't be perfectly square.

I drew a line at 3" on both sides then Mr. Mayhem and I each took an end of the saw blade and pulled it back and forth slowly making sure it was lined up the whole time. I felt like I was cutting down a tree in the olden days. I even said "Timber!" in my head each time we reached the end of the foam.
I stuffed the foam in the felt and hand stiched them shut. I don't have pictures of the last two steps. Bad blogger...
Here is the finished product.
Max is a little too young to interact with them too much, but he seems interested and I'm sure as he gets older he will have lots of fun with them!
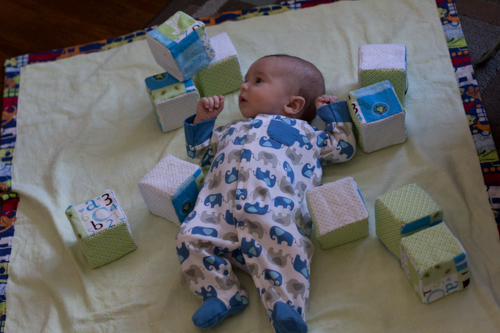
This was a great project to break in my new sewing machine. It was quick, easy, turned out cute, and it was pretty cheap too. I got the foam at hobby lobby with a 40% off coupon for $3.50 and the fabric was 60% off at JoAnn so my total there was $3.19. All in all I would call it a success.
Love,
Natalie

Very Cute!! Max is getting big :)
ReplyDeleteThanks! I know he is growing up too fast. Hope TX is treating you well.
DeleteLove it!!
ReplyDeleteThanks, Alisha!
Delete