Back in the day I posted this fun glass etching project, however it was lacking a step-by-step tutorial guide for you to follow. Now, after more than a year here is the tutorial! My sister was here for the weekend, and we were looking for a "nap-time" craft to do. We ran to the thrift store and found some glass that was just screaming, "etch me!"
My sister picked out this charming set of juice glasses.
A blank canvas just waiting for creativity to strike!
I chose a bowl. I am slightly obsessed with popcorn especially when there are m&m's involved, so I decided it would be my "popcorn bowl."
The supplies you will need are as follows:
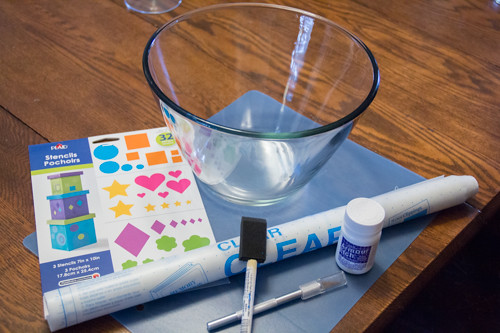
Something to etch, contact paper, glass etching cream, a foam brush, a craft knife, cutting board, and stencils (if desired).
Decide on your design, and cut it out of contact paper. Remember what you cover will not be etched, what you leave open will.
I decided to put the word "popcorn" on the side of my bowl with a circle around it. So I printed the letters on the computer, then taped them to the contact paper and cut them out with the craft knife.
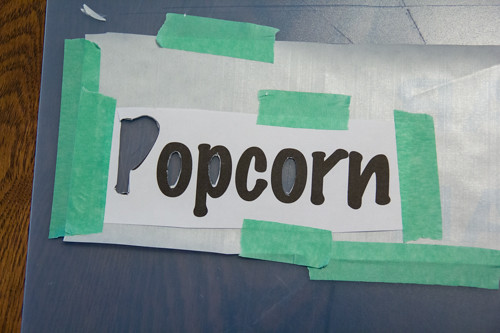
I forgot to take a picture of the bowl before I put any cream on, but here is one with a little bit of cream on the back. As you can see I put contact paper over the word popcorn, so it will not be etched the area around it will.
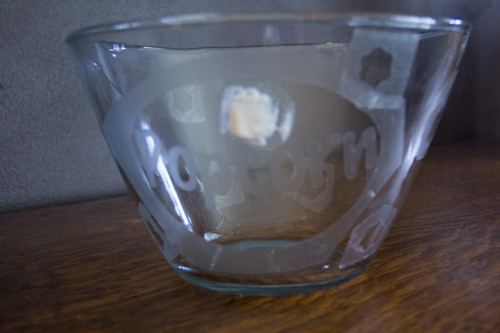
I used the flower stencil around the rest of the bowl to look like little pieces of popcorn. The background of this picture cracks me up. I'm a messy crafter!
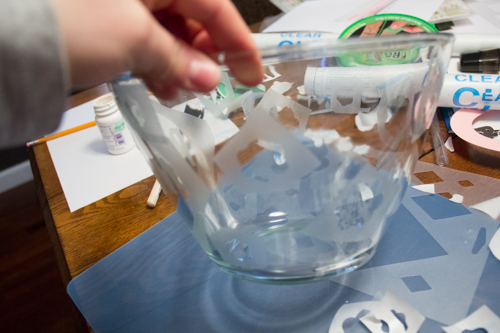
After you get all your contact paper placed, liberally apply the cream and let it set for about 30 minutes. The cream bottle said 10 min, but that didn't seem long enough to me. Be careful not to get the cream on you skin or in your eyes and don't eat it. It is acid.
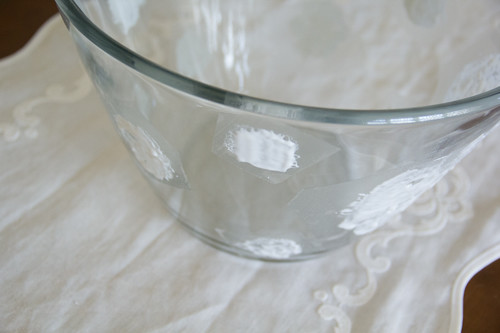
After you let it set, rinse off the cream and remove the contact paper.
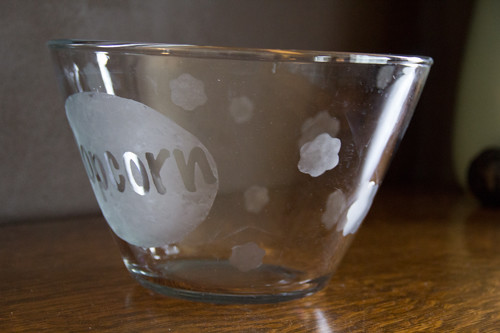
The finished product. It was quite hard to photograph since there is design on the front and back of the bowl. Overall I like the bowl. I don't love it. I've never done such a large section of etching before and I don't think I will again. It looks better in smaller sections. I love the little popcorn pieces, not crazy about the circle around the word popcorn.
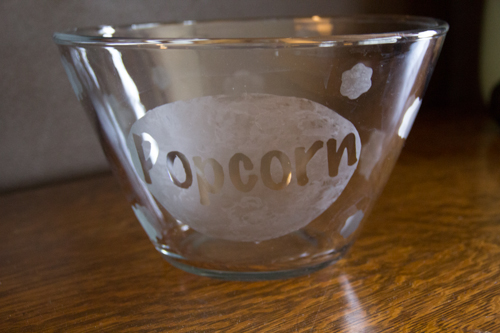
Here's another angle. Aren't the little popcorns charming.
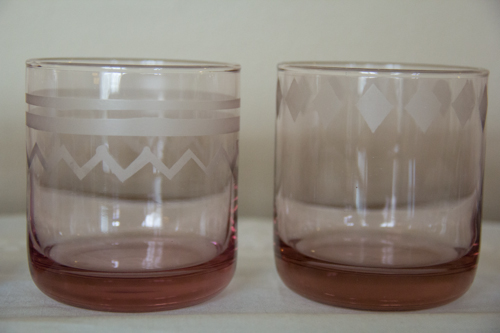
My sister followed the "smaller area" rule and had striking success.
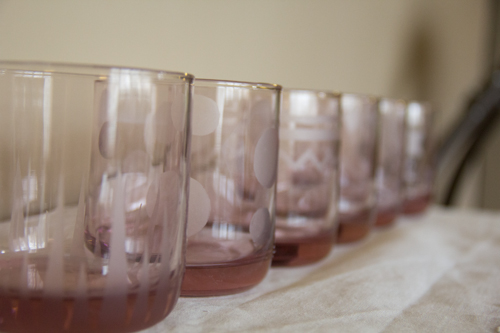
She did a different design on each glass.
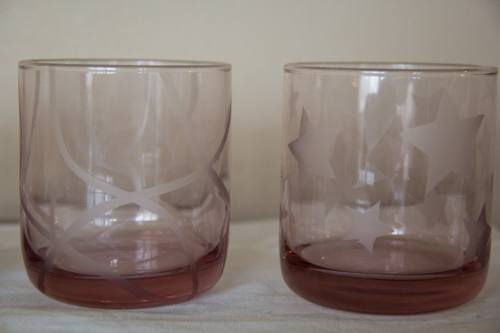
It makes a very cute set of juice glasses. Good job, sis!
While my bowl didn't turn out perfect, I had a fun time crafting with my sis. We had plenty of time to chat while cutting out our designs. My bowl was done before nap time was over, however, since she decided to do 6 glasses, her took a bit longer! I hope this tutorial yields better results for you than it did for me. That's one of the benefits to being a reader, not a blogger, you can learn from my mistakes. :-)
Saturday, June 1, 2013
Tuesday, April 16, 2013
Thrift Store Lamp Revamp
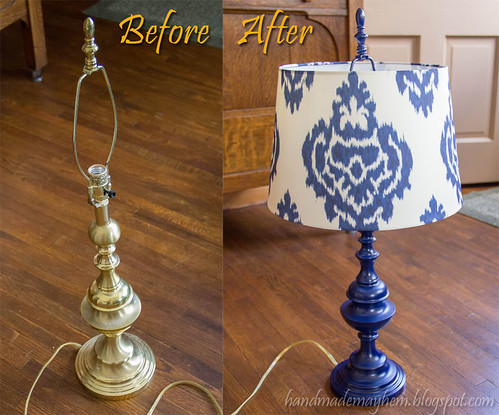
This post is about how I took a decrepit old lamp and gave it new life. Kind of like Jesus. I was basically Jesus to this lamp.
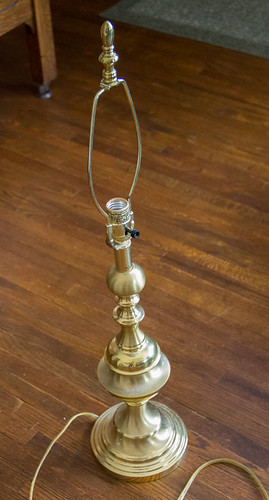
I found this beauty of a lamp at the Salvation Army for $5. I admit, it is not too much to look at, but I felt that it had a good soul, so I grabbed it a headed home. I stopped by Target on my way to peruse the lamp shade selection hoping for something plain that I could spice up with my mad crafting skills.
There is no way that I could craft something for 30 cents! Plus, let's be honest, it probably would not have turned out this beautiful. ;-) So I headed off to the home improvement store to get some spray paint. I came home with these:
When you are finished sanding. Wipe it down completely to get all of the dusty bits off. At this point I taped off the top and the cord.To prevent paint from getting on them. Any painters or masking tape will do.
Then it was time to prime. I read that thin even coat are the way to go when spray painting in order to prevent drips. Yes, that is true. No, I am not good at that. I found that I am too excited and anxious to get the painting done. My coats were a little too thick. Luckily I did not get any drips.
First coat of primer:
A note on primer. Primer is important especially when painting smooth surfaces like metal. It gives the paint something the stick to. Not sanded or primed, the paint would easily flake off...yucky!
I did two coats of primer. Then in was time for PAINT!
There it is in all her glory. It is actually going to live in the basement, but the lighting down there is abysmal for photographing.
I found this beauty of a lamp at the Salvation Army for $5. I admit, it is not too much to look at, but I felt that it had a good soul, so I grabbed it a headed home. I stopped by Target on my way to peruse the lamp shade selection hoping for something plain that I could spice up with my mad crafting skills.
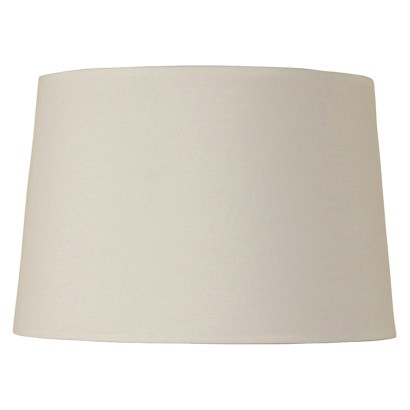
I found this shade for only $15:
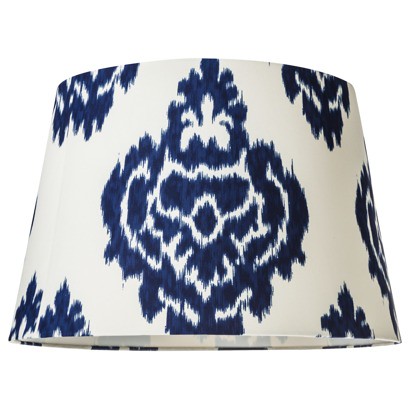
But then I saw this beauty on CLEARANCE for only 30 cents more:
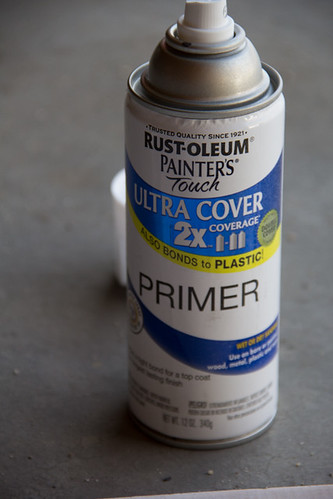
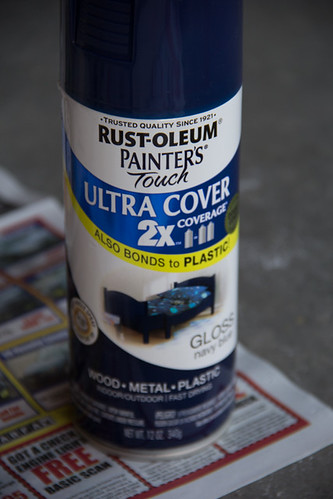
There is no way that I could craft something for 30 cents! Plus, let's be honest, it probably would not have turned out this beautiful. ;-) So I headed off to the home improvement store to get some spray paint. I came home with these:
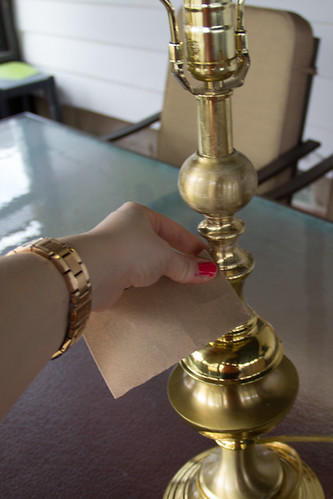
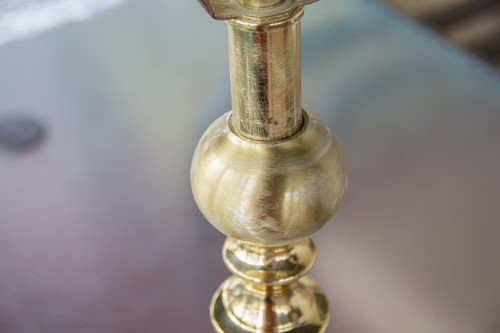
Now that the shopping was done, it was time to get to work. The first step was thoroughly cleaning the crusties off the lamp. Then I sanded it with very fine grit sand paper (220).
That picture is totally faked! I don't sand left handed, but I couldn't take the picture left handed either. Maybe I need to hire a professional photographer to follow me around and document my crafting...ha!
When you're done it should have small scratches all over it. Not deep gouges. The small scratches give a rough surface for the paint to adhere to. They will be covered by paint. Deep gouges will show. If you are getting gouges it is because you are using to rough a grit of sandpaper. Use a higher grit (read: higher number).
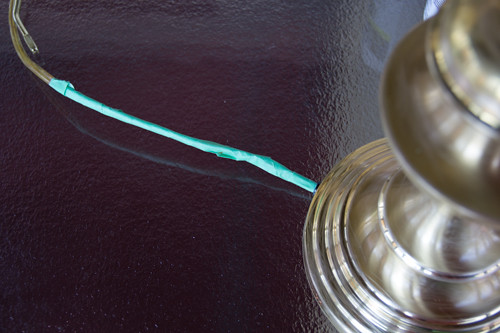
When you are finished sanding. Wipe it down completely to get all of the dusty bits off. At this point I taped off the top and the cord.To prevent paint from getting on them. Any painters or masking tape will do.
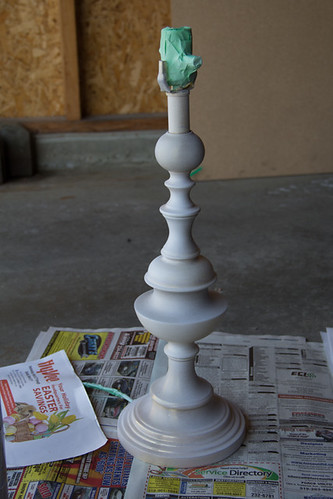
Then it was time to prime. I read that thin even coat are the way to go when spray painting in order to prevent drips. Yes, that is true. No, I am not good at that. I found that I am too excited and anxious to get the painting done. My coats were a little too thick. Luckily I did not get any drips.
First coat of primer:
A note on primer. Primer is important especially when painting smooth surfaces like metal. It gives the paint something the stick to. Not sanded or primed, the paint would easily flake off...yucky!
I did two coats of primer. Then in was time for PAINT!
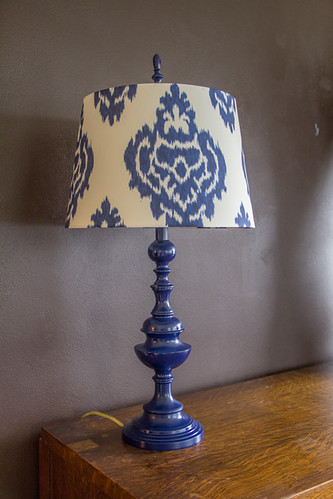
Ahhh! Would you just look at that gloss. I love it! I used Rust-oleum Navy Blue in the Gloss finish. I would not recommend gloss finish for everything. It shows every imperfection and dust more easily than satin or flat finish, but in a small amount on something like a lamp, gloss is a show stopper! I then allowed the paint to cure out side for about 48 hours before handling it.
There it is in all her glory. It is actually going to live in the basement, but the lighting down there is abysmal for photographing.
Here's a close up of the paint job.
I LOVE that color! What about you? Have you given any old, dated objects new life with a coat of paint and a new shade recently? Do share!
Friday, March 1, 2013
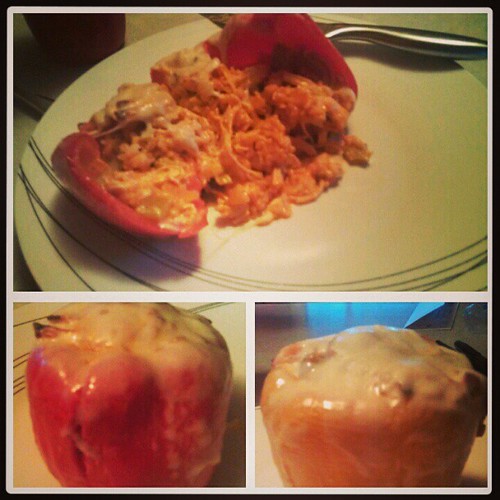
Buffalo Chicken Stuffed Peppers
I posted this picture on instagram and Facebook and immediately got requests for the recipe. Unfortunately the recipe I followed was very poorly written (missing multiple steps in the process) and I tweaked it quite a bit. So I decided the best course of action was to write my own recipe and post it here!
Ingredients:
2 Skinless Boneless Chicken Breasts, cooked and shredded
1/2 C. Brown Rice
1/2 C. Celery
1/2 C. Onion
1 C. Frank's Hot Sauce (You can use another brand, but it won't be as good ;-))
1 1/2 Tsp. Garlic Powder
2 Tsp. Parsley
1/2 C. Blue Cheese
1/4 C. Ranch Dressing
6 Slices Muenster Cheese (Provolone, Swiss, or Pepper Jack would also be good).
3 Whole Bell Peppers
Directions:
Preheat the oven to 350 degrees. Cook the rice according to the package directions. Saute the onions and celery until soft. Add all the other ingredients except the blue cheese, muenster, and bell peppers. Simmer for 15 min. Add the blue cheese and ranch. Cut the stems off the peppers and clean out the seeds. Lay a slice of cheese in the bottom of each pepper. Fill the peppers with the meat mixture until heaping. Place in a baking dish and bake for 30 min. Place another piece of cheese on the top and cook for an additional 5-10 min. Until the cheese is melted and the peppers are soft.
If you like Buffalo chicken, you should check out my Buffalo Chicken Calzone recipe. It is yummy and quick.
Love,
Natalie
Tuesday, January 22, 2013
Felt Baby Blocks
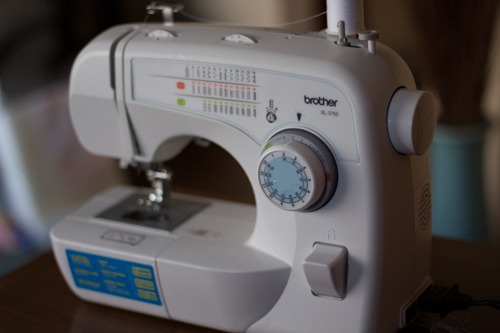
Well folks I entered the wild world of sewing when this beauty showed up for Christmas from Mama Mayhem.
I did have a sewing machine prior to that that I had picked up at a garage sale for $15. It was SUPER old. It came with a servicing receipt from 1963! My old machine was persnickety and more frustrating than fun to use. I did bust it out from time to time. For example, I used it to make the roman shades in our bathroom revamp. Most recently I had tried to use it to make this pillow, but I got so frustrated with my machine being crappy that I ended up sewing it by hand--not fun.
Enter my new shiny flashy machine. I love it. And I love my new baby. So I decided by first project would be something for my babe.
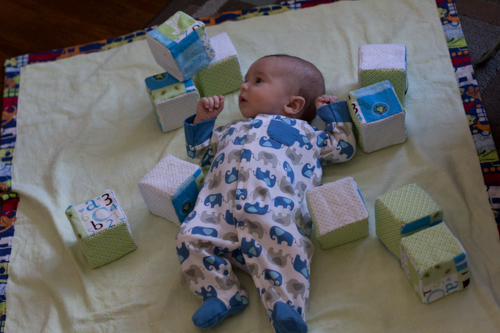
There they are together. I love it how it looks like Max is winking!
It is a fairly simple process. I used felt fabric in three different patterns, but I think more patterns would have been more fun. The foam I got was 3" thick so my blocks are 3" square.
I cut the fabric in 3 1/2" squares to allow for 1/4" seams.
If you don't have a rotary cutter, go buy one now. You will love yourself for it. And sorry for the wonky focus of this photo I was trying out Mr. Mayhem's new 50mm prime lens. I don't quite have the technique down yet.
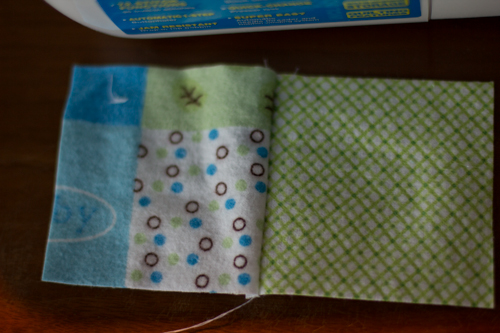
Once you have all your squares cut, sew two of them right sides together.
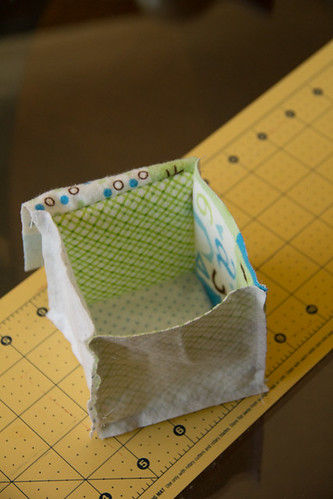
You end up with this.
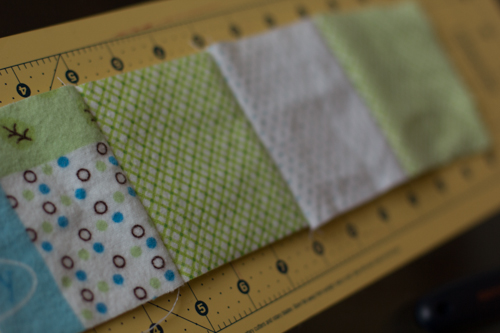
Continue in that fashion until you have four in a row (you need 6 total for each block).
Again with the 50mm lens...sorry. Now, sew one square on each side to make it look like a "T". Remember to keep right sides together.
At this point you are going to start making the cube. Keep sewing right sides together until you end up with this.
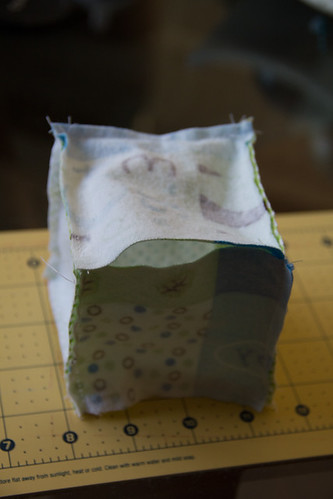
Sew two more sides, but be sure to leave one open to get the foam into. I did sew a little ways on both sides on the machine to get nice corners, but I left a 2 1/2" gap in the middle to stuff the foam through.
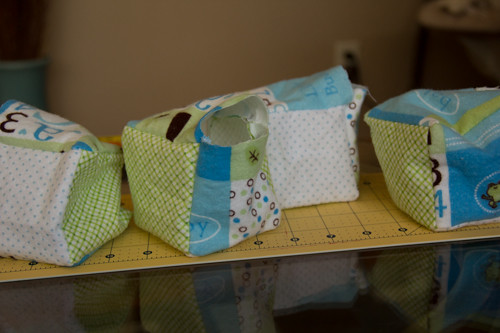
Turn the block right side out! They already look cute.
Now it is time to cut the foam. I have been told that the best way to cut it is with an electric knife. I don't have one, so I had to improvise. I used the most fine tooth saw blade I could find from Mr. Mayhem's hacksaw. It worked like a charm. If it is just a serrated knife the foam will be cut jagged and the blocks won't be perfectly square.
I drew a line at 3" on both sides then Mr. Mayhem and I each took an end of the saw blade and pulled it back and forth slowly making sure it was lined up the whole time. I felt like I was cutting down a tree in the olden days. I even said "Timber!" in my head each time we reached the end of the foam.
I stuffed the foam in the felt and hand stiched them shut. I don't have pictures of the last two steps. Bad blogger...
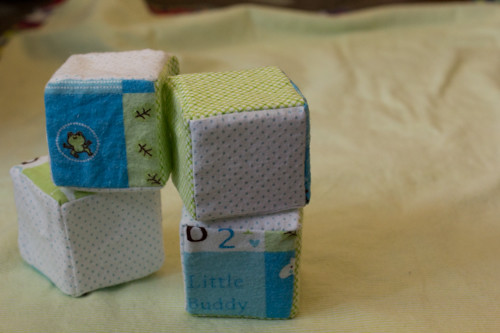
Here is the finished product.
Max is a little too young to interact with them too much, but he seems interested and I'm sure as he gets older he will have lots of fun with them!
This was a great project to break in my new sewing machine. It was quick, easy, turned out cute, and it was pretty cheap too. I got the foam at hobby lobby with a 40% off coupon for $3.50 and the fabric was 60% off at JoAnn so my total there was $3.19. All in all I would call it a success.
Love,
Natalie
Subscribe to:
Posts (Atom)