
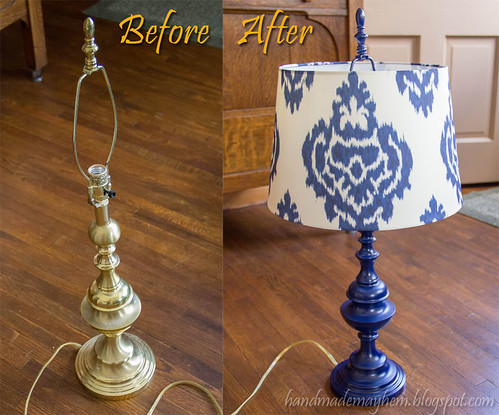
This post is about how I took a decrepit old lamp and gave it new life. Kind of like Jesus. I was basically Jesus to this lamp.
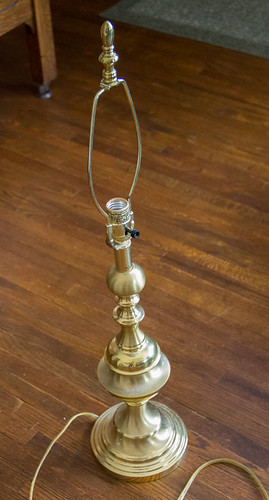
I found this beauty of a lamp at the Salvation Army for $5. I admit, it is not too much to look at, but I felt that it had a good soul, so I grabbed it a headed home. I stopped by Target on my way to peruse the lamp shade selection hoping for something plain that I could spice up with my mad crafting skills.
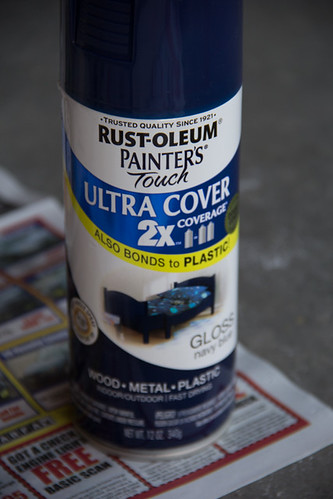
There is no way that I could craft something for 30 cents! Plus, let's be honest, it probably would not have turned out this beautiful. ;-) So I headed off to the home improvement store to get some spray paint. I came home with these:
When you are finished sanding. Wipe it down completely to get all of the dusty bits off. At this point I taped off the top and the cord.To prevent paint from getting on them. Any painters or masking tape will do.

Then it was time to prime. I read that thin even coat are the way to go when spray painting in order to prevent drips. Yes, that is true. No, I am not good at that. I found that I am too excited and anxious to get the painting done. My coats were a little too thick. Luckily I did not get any drips.
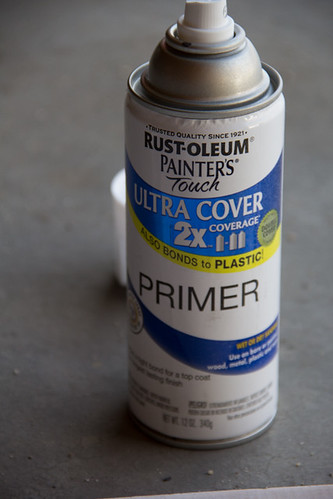
First coat of primer:

A note on primer. Primer is important especially when painting smooth surfaces like metal. It gives the paint something the stick to. Not sanded or primed, the paint would easily flake off...yucky!
I did two coats of primer. Then in was time for PAINT!

There it is in all her glory. It is actually going to live in the basement, but the lighting down there is abysmal for photographing.


I found this beauty of a lamp at the Salvation Army for $5. I admit, it is not too much to look at, but I felt that it had a good soul, so I grabbed it a headed home. I stopped by Target on my way to peruse the lamp shade selection hoping for something plain that I could spice up with my mad crafting skills.
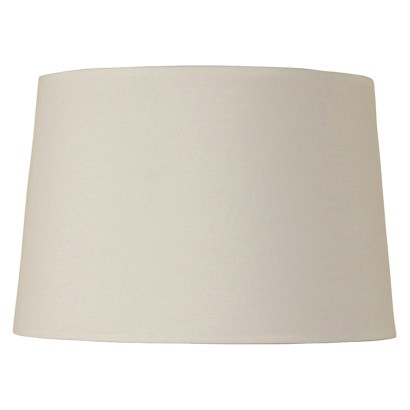
I found this shade for only $15:
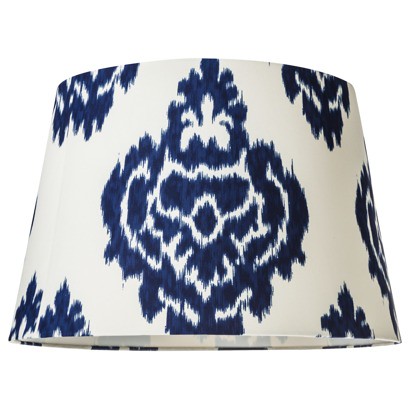
But then I saw this beauty on CLEARANCE for only 30 cents more:
There is no way that I could craft something for 30 cents! Plus, let's be honest, it probably would not have turned out this beautiful. ;-) So I headed off to the home improvement store to get some spray paint. I came home with these:
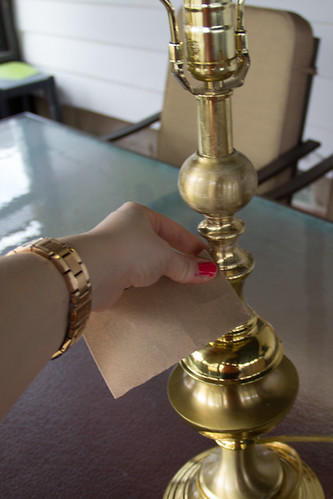
Now that the shopping was done, it was time to get to work. The first step was thoroughly cleaning the crusties off the lamp. Then I sanded it with very fine grit sand paper (220).
That picture is totally faked! I don't sand left handed, but I couldn't take the picture left handed either. Maybe I need to hire a professional photographer to follow me around and document my crafting...ha!
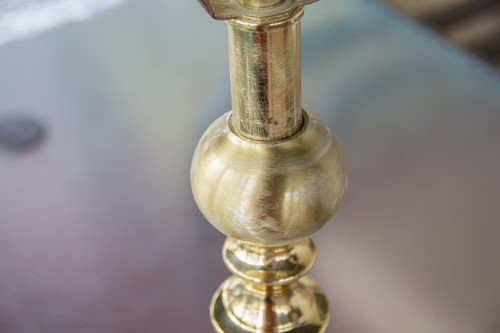
When you're done it should have small scratches all over it. Not deep gouges. The small scratches give a rough surface for the paint to adhere to. They will be covered by paint. Deep gouges will show. If you are getting gouges it is because you are using to rough a grit of sandpaper. Use a higher grit (read: higher number).
When you are finished sanding. Wipe it down completely to get all of the dusty bits off. At this point I taped off the top and the cord.To prevent paint from getting on them. Any painters or masking tape will do.
Then it was time to prime. I read that thin even coat are the way to go when spray painting in order to prevent drips. Yes, that is true. No, I am not good at that. I found that I am too excited and anxious to get the painting done. My coats were a little too thick. Luckily I did not get any drips.
First coat of primer:
A note on primer. Primer is important especially when painting smooth surfaces like metal. It gives the paint something the stick to. Not sanded or primed, the paint would easily flake off...yucky!
I did two coats of primer. Then in was time for PAINT!
Ahhh! Would you just look at that gloss. I love it! I used Rust-oleum Navy Blue in the Gloss finish. I would not recommend gloss finish for everything. It shows every imperfection and dust more easily than satin or flat finish, but in a small amount on something like a lamp, gloss is a show stopper! I then allowed the paint to cure out side for about 48 hours before handling it.
There it is in all her glory. It is actually going to live in the basement, but the lighting down there is abysmal for photographing.
Here's a close up of the paint job.
I LOVE that color! What about you? Have you given any old, dated objects new life with a coat of paint and a new shade recently? Do share!

Very cute! I wouldn't have thought it was that easy to re-do a lamp...now you have me wanting to attack Brian's ugly lamps!! lol
ReplyDeleteDo it! It was a very fun, quick project! (and cheap!)
DeleteIs this a deep blue akin to a lapis. BC I used Rustoleum Navy and it looks deeper than this but I love your color.
ReplyDeleteHi!
ReplyDeleteI’m an editor for BuzzFeed and I love your site! We'd love to include a photo of yours from this post (with full credit and a prominent link back to the original post on your site) in a BuzzFeed post of smart decorating ideas.
Would that be OK with you? Let me know, and thanks!
Natalie Brown
natalie.brown@buzzfeed.com
buzzfeed.com/nataliebrown
Natalie dear, not only is your project fabulous and inspiring (good call on the lamp shade, too!), but your presentation is one of the very best I’ve seen in all the years I’ve been on Pinterest. Well done! No wonder buzzfeed wants to use it!
ReplyDelete(One little thing to kick it up just a tad would be to proofread carefully for that extra polish).
Looking forward to doing this project on a couple of lamps soon!