Well, after finally getting through the yucky first trimester morning sickness, I got hit with the stomach flu. BLAH! This post is a bit late, but better late than never, right?! Our anniversary is on June 7 so I'm only about 11 days behind. I'll catch up...eventually.
Mr. Mayhem and I never buy each other anniversary gifts. We always go together and get something for "us." For our first anniversary we got the wedding album we had designed printed. For the 2nd we bought end tables for our new house, and last year, we bought a propane fire pit similar to, but not exactly like this...
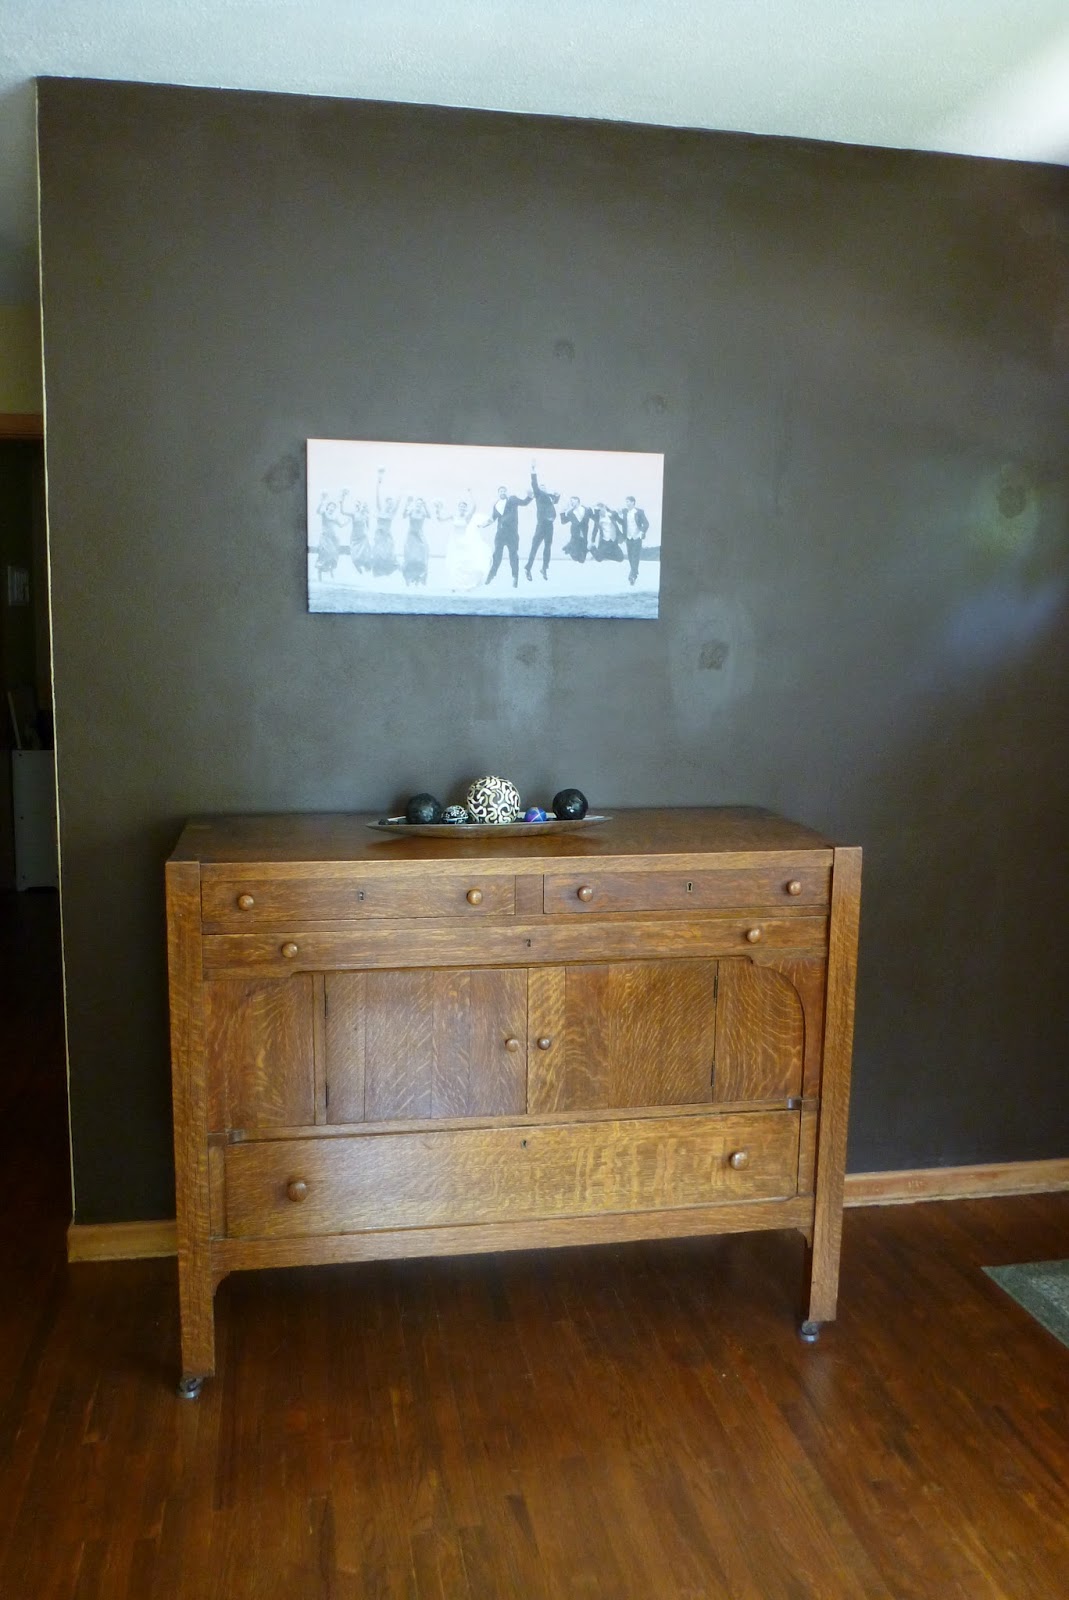
This year we decided that we wanted to get one of our wedding photos printed on a large canvas. Up to this time we have only printed and framed about 9 wedding photos, and they are all 4x6". One reason that we never printed a big photo is because we didn't know which one to print. While we love our wedding images, our photographer seemed to have missed the full length traditional bride and groom shot. bummer... So after thinking about it a while we both decided to just go with our favorite shot even though it is not really traditional and this is what we got.
I love it! It is 30x14". Here is another shot for more context.
Clearly it needs more accessorizing especially on the buffet top. I'll keep you posted with what I come up with!
Monday, June 18, 2012
Tuesday, June 12, 2012
Assemble the Minions!
Mr. Mayhem and I have a good design/house project partnership. I come up with the ideas and he executes. I usually help, but let's be honest, I am the big picture, visionary, and he is the detailed oriented practical one. Plus, my skills with power tools are not what they could be. So imagine my surprise when he declares that the nursery must be a "Despicable Me Minion" theme. What??? Themes are my territory, buddy! Back off.
While I think the minions are adorable I had three main problems with this theme:
1. I didn't come up with it. It was throwing off my normal design conception process.
2. I imagined gaudy yellow walls with crazy cartoon decals.
3. What if we are having a baby girl???
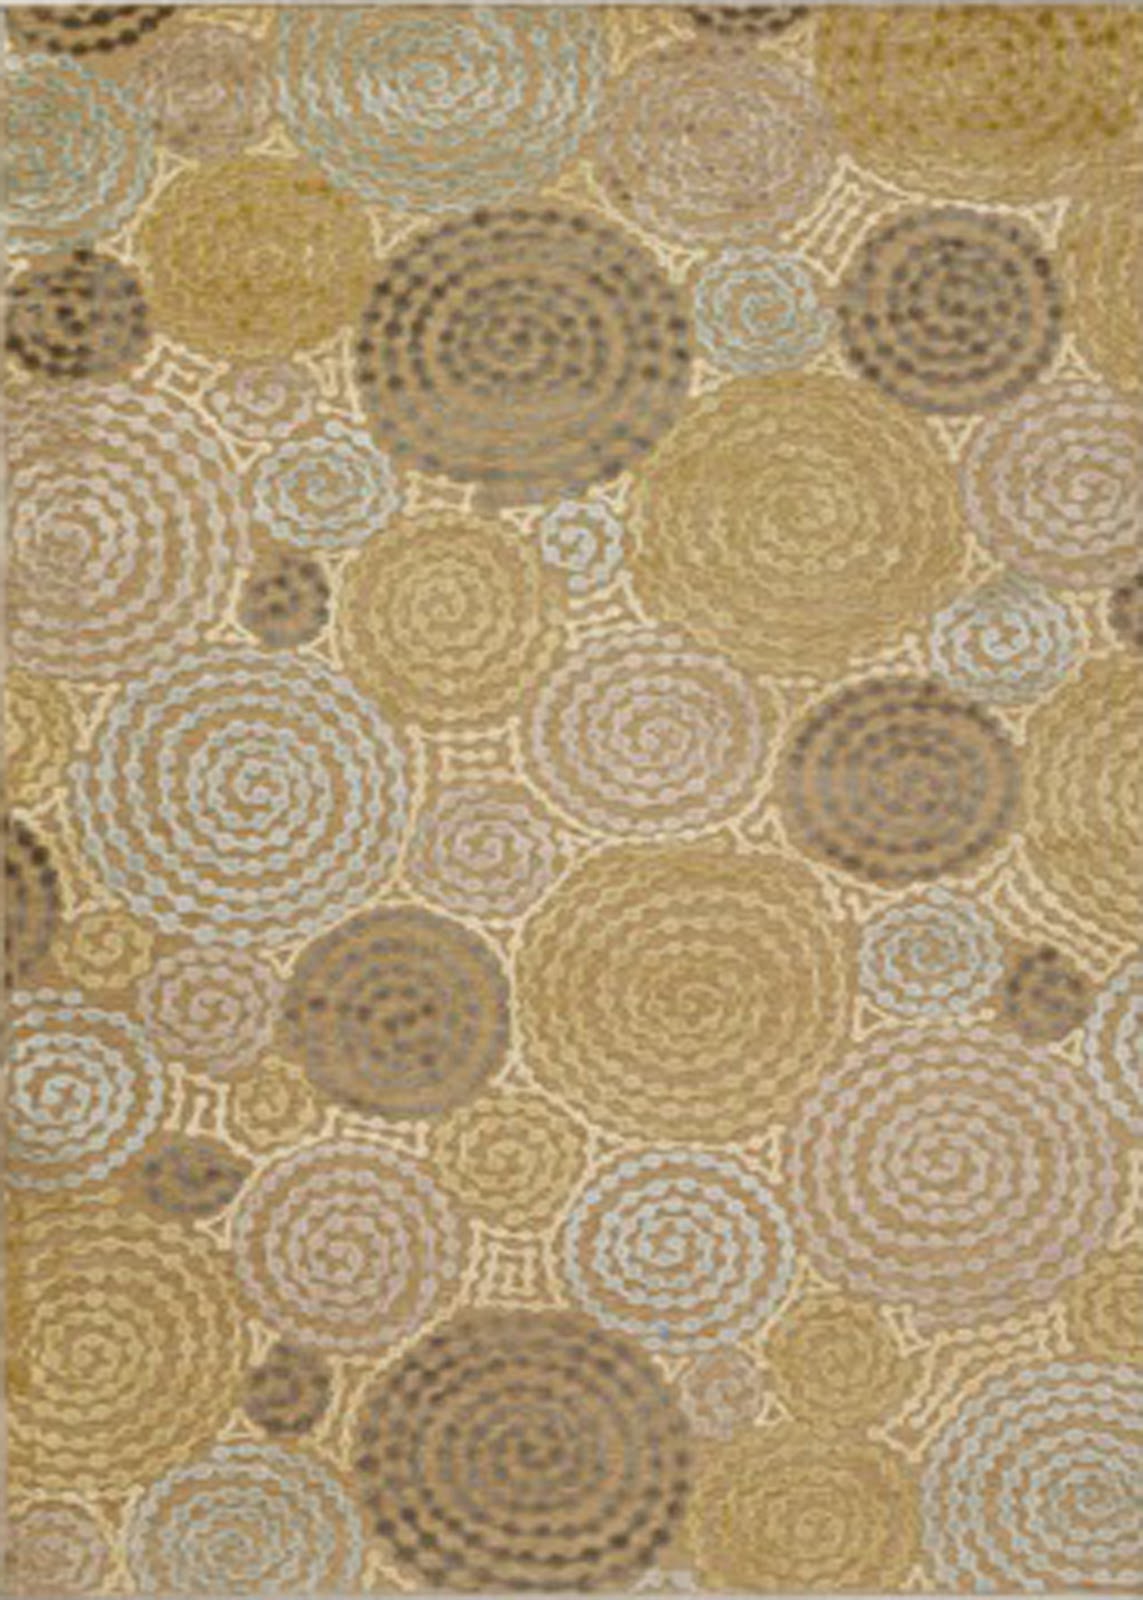
I tried to deter Mr. Mayhem in various ways. I brought up the gender conundrum. (we will find out the sex of the baby at the end of the month!) He said it was fine. Minions can be for girls or for boys. I don't love overly girly frills anyway so I said ok. Then I brought up the rug conundrum. The current rug in the room that will be the nursery will not match a minion theme. His reply: We'll buy a new rug! He gave me permission to go rug shopping! Be still my beating heart.
So I sat down to one of the most challenging designs I have ever tackled. It was difficult because I have been dreaming about designing a nursery forever, and now I finally get to, and I want it be be wonderful, and I have to do it in the confines of a minion theme!
This is what I came up with...
I will probably not be buying any of the actual pieces in this picture except maybe that rug in a different color. This was just what I found on a google image search to get my ideas out. For example, that lamp is $400. I will post source information when I decide the actual (not dreaming) elements that will end up in the nursery.
Mr. Mayhem used my design to lay it out in a 3D model of the space.
I went with classic white furniture and grey walls to give it a neutral pallet. Then I will layer on more childlike accessories, colors, and to liven up the space.The dresser will double as a changing table. Two reasons for that: space and a changing table can only be used for 2ish years then I would have to try and sell it. The dresser can be used for years to come. I would rather invest in longevity.
This is an earlier render with a different rug, but it shows the growth chart that Mr. Mayhem is going to make and the little minion mural.
So that is the plan so far. Obviously more color and accessories will be added, and I will keep you up-to-date along the whole journey!
While I think the minions are adorable I had three main problems with this theme:
1. I didn't come up with it. It was throwing off my normal design conception process.
2. I imagined gaudy yellow walls with crazy cartoon decals.
3. What if we are having a baby girl???
I tried to deter Mr. Mayhem in various ways. I brought up the gender conundrum. (we will find out the sex of the baby at the end of the month!) He said it was fine. Minions can be for girls or for boys. I don't love overly girly frills anyway so I said ok. Then I brought up the rug conundrum. The current rug in the room that will be the nursery will not match a minion theme. His reply: We'll buy a new rug! He gave me permission to go rug shopping! Be still my beating heart.
![]() |
| Current Area Rug |
I will probably not be buying any of the actual pieces in this picture except maybe that rug in a different color. This was just what I found on a google image search to get my ideas out. For example, that lamp is $400. I will post source information when I decide the actual (not dreaming) elements that will end up in the nursery.
Mr. Mayhem used my design to lay it out in a 3D model of the space.
I went with classic white furniture and grey walls to give it a neutral pallet. Then I will layer on more childlike accessories, colors, and to liven up the space.The dresser will double as a changing table. Two reasons for that: space and a changing table can only be used for 2ish years then I would have to try and sell it. The dresser can be used for years to come. I would rather invest in longevity.
This is an earlier render with a different rug, but it shows the growth chart that Mr. Mayhem is going to make and the little minion mural.
So that is the plan so far. Obviously more color and accessories will be added, and I will keep you up-to-date along the whole journey!
Saturday, June 9, 2012
Reclaimed Wood Wall Art
I have seen a lot of "pallet art" on pinterest and other blogs that I read. I wanted to jump on the band wagon, but I didn't have any old pallets laying around. I decided to improvise and ended up with this beauty!
I started with these old boards I found in the garage. They were left over from an old shelf that we took out of our house soon after we moved in. The shelf had been disassembled leaving these boards behind.
That is where is got fun. I don't have any pictures of the process but basically. I sanded the boards to get all the white paint off and then Mr. Mayhem beat the snot out of them with a hammer, screw driver, saw ect. to get the worn look especially on the ends. Then I took them back and smoothed everything with the hand sander.
Since I'm baking a baby I was banned from the garage for the staining and sealing part of the project. Basically 2-3 coats of dark walnut stain were applied. At that point I adhered the viney stickers. They are from a company called "Wall Designer Accents." I picked them up at Hobby Lobby for $8. The stickers were followed by two coats of water-based Polycrylic. The individual boards are held together by lath nailed to the back.
The final product!
It is hanging in our basement guest room. Which is an on-going work in progress.
Thursday, April 19, 2012
Rosemary Ranch Chicken Kabobs
It is GRILLING SEASON!!! YES! I love meals from the grill. Now, I do not man the grill, but I do love everything that comes off of it. I also love all the sides associated with grilling baked beans, potato salad, and like any good Iowa girl I love me some sweet corn!
Today I thought I would share one of Mr. Mayhem and my favorite grilling recipes OF ALL TIME! How is that for a build up?
Ingredients:
1/2 C Olive Oil
1/2 C Ranch Dressing
3 TBS. Worcestershire sauce
1 Tsp. White Vinegar
1/4 Tsp Pepper
1 TBS Minced Fresh Rosemary (or 1/2 TBS dry)
2 Tsp. Salt
1 Tsp. Lemon Juice
1 TBS White Sugar
3 Skinless, boneless chicken breast, cut into cubes
Vegetables (bell peppers, fresh mushrooms, red onion, cherry tomatoes)
Stir together all of the ingredients. Add the chicken. Allow to marinate at least 30 min. If using wooden skewers, soak in water for 15 min. Then, thread on chicken and vegetables. It is better to do them separately since they need to cook different amounts of time. Place them on the grill preheated to medium-high. Grill for 10-12 min. or until the chicken is no longer pink, turning frequently.
I served the kabobs with rice and green beans. It is a really colorful lovely plate. Just slide the goodies off the skewer to enjoy!
Printable Recipe Card
What is your favorite grill recipe?
Today I thought I would share one of Mr. Mayhem and my favorite grilling recipes OF ALL TIME! How is that for a build up?
Ingredients:
1/2 C Olive Oil
1/2 C Ranch Dressing
3 TBS. Worcestershire sauce
1 Tsp. White Vinegar
1/4 Tsp Pepper
1 TBS Minced Fresh Rosemary (or 1/2 TBS dry)
2 Tsp. Salt
1 Tsp. Lemon Juice
1 TBS White Sugar
3 Skinless, boneless chicken breast, cut into cubes
Vegetables (bell peppers, fresh mushrooms, red onion, cherry tomatoes)
Stir together all of the ingredients. Add the chicken. Allow to marinate at least 30 min. If using wooden skewers, soak in water for 15 min. Then, thread on chicken and vegetables. It is better to do them separately since they need to cook different amounts of time. Place them on the grill preheated to medium-high. Grill for 10-12 min. or until the chicken is no longer pink, turning frequently.
I served the kabobs with rice and green beans. It is a really colorful lovely plate. Just slide the goodies off the skewer to enjoy!
Printable Recipe Card
What is your favorite grill recipe?
Wednesday, April 18, 2012
Announcement and Etched Glass
BLAH! I can't believe it has been a month since I blogged! I have really missed it, but I have a good reason for my absence:

That's right, friends, I'm going to be a mama! I can't wait! However, this past month has been a rough one. I'm not sure if I'm a wimp or if I have really had bad morning sickness. I'm starting to feel better. Still tired, but less vomit, so I'll take it!
This blog is about making stuff so why not add a little baby makin' to the mix! I promise though it won't be all baby, all the time. :-)
Time for the Glass Etching. I have been wanting a cute air tight container to store our coffee beans in, and I have been wanting to use my glass etching cream. I brought the two together into a fun project I completed at my friend's craft night a few weeks ago. I'm really happy with how it turned out.
I started with this plain glass container from Hobby Lobby.
I don't have pictures of a step by step since I was at my friends house. Basically best case scenario you have a Cricket or Silhouette and you just cut out your vinyl, apply etching cream, let it sit for 5 min., rinse and your done. However, I do not have a fancy shmanshy cutting machine, so I printed my design on normal printer paper, taped it to contact paper, and cut around it with a very sharp craft knife. Then, I stuck the contact paper on the jar, added the etching cream, waited 5 min., and rinsed it off. Picking the font and actually cutting it out were the two most time consuming steps.
Here is the finished product!
It was hard to see in the picture with out some coffee in the jar. I only had ground coffee on hand, but usually it will hold the whole beans.
Some of my edges are perfectly smooth. Probably because of my janky stencil method, but I think it kind of makes it look distressed and artsy. I think it's fun!
AHHHH!!! It is good to be back to blogging. ;-)
Friday, March 16, 2012
Sunroom Mirror
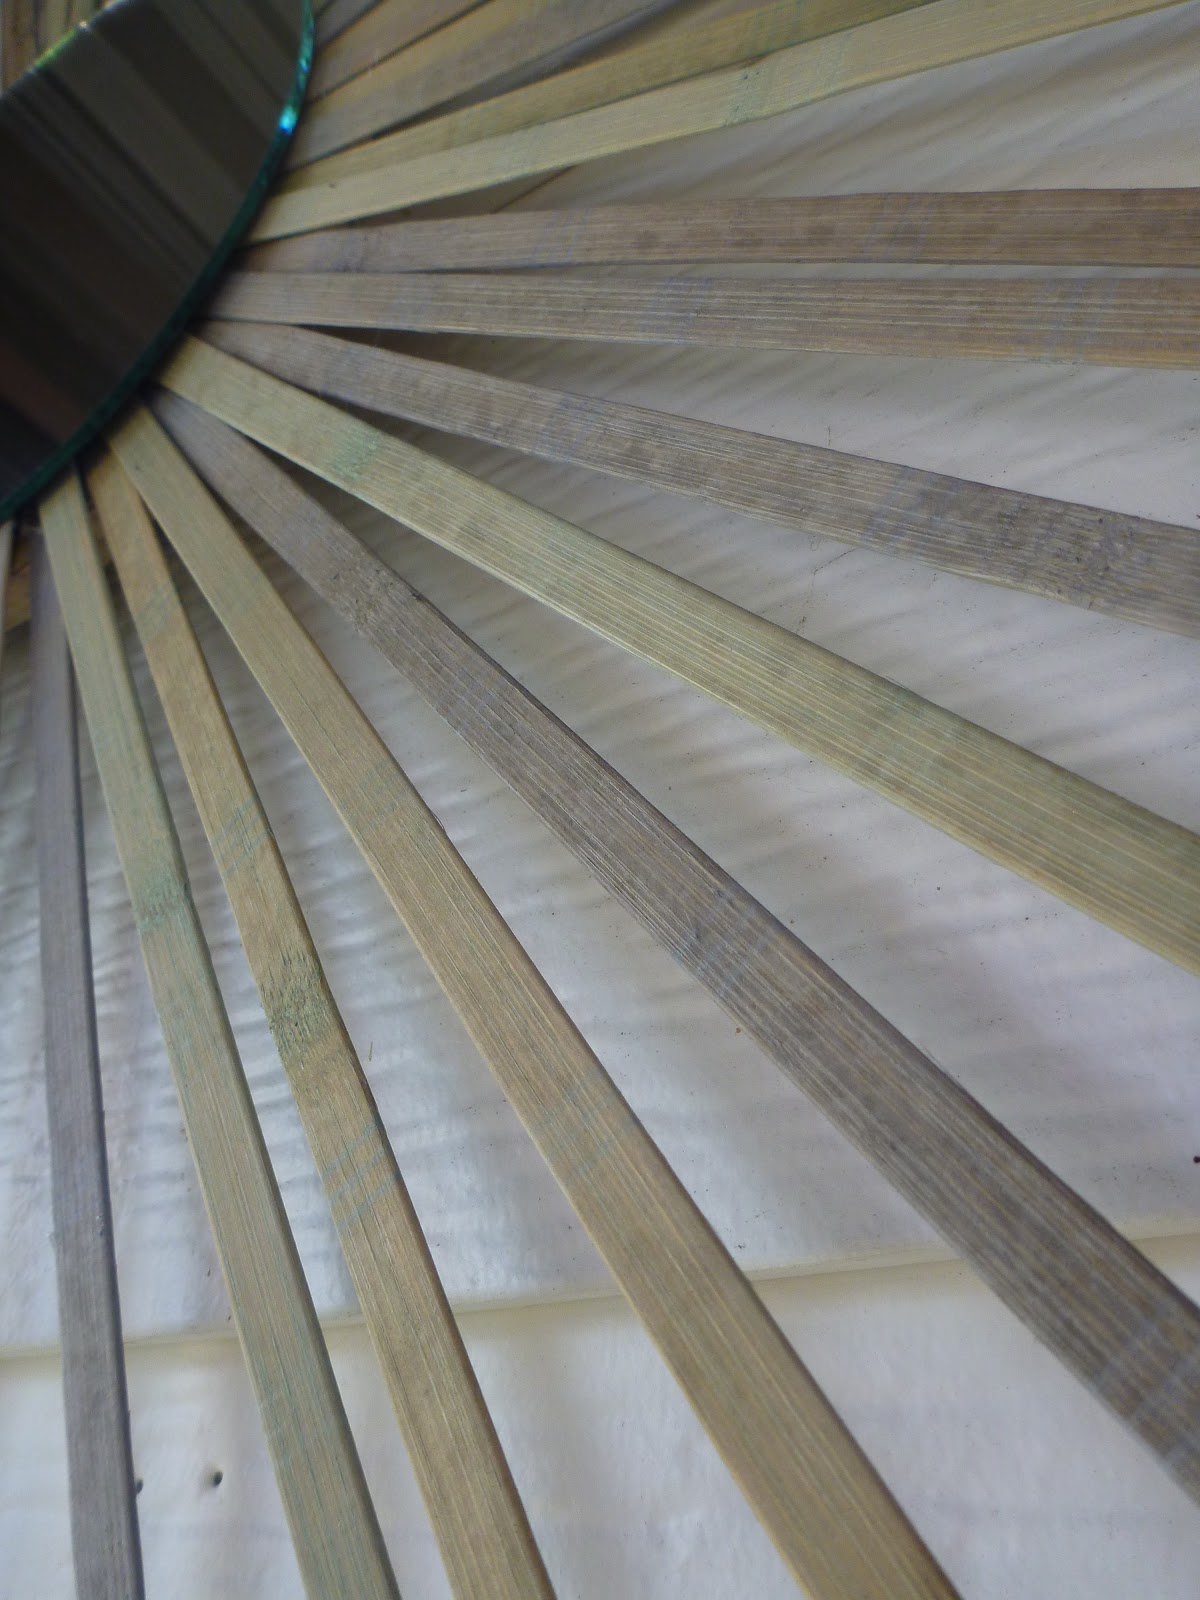
I made this mirror a year or so ago to hang in the sunroom. I used the bamboo slats from some old place mats that I was no longer using and a craft store mirror. Mr. Mayhem attached some plywood and a hanging thingy to the back.
I love the mirror, however after hanging for a couple seasons the color has all but faded away...
The color scheme in the sunroom in a lively mix of teal, lime green, and cobalt blue.
I decided to go with Rustoleum spray paint in the color "Key Lime." What a difference! It is just the sunny pop of color that space needed.
I think outdoor decorating is fun because you don't have to take yourself so seriously.
What a fun color! Summer is on its way! We are expecting almost 80 degrees today. In March!? In Iowa?! Crazy!
Have you given new life to any old favorites with a little bit of spray paint? Any summer preperations or decorating happening? Do share!
Love,
Natalie
Subscribe to:
Posts (Atom)