Showing posts with label Decor. Show all posts

Tuesday, April 16, 2013

Thrift Store Lamp Revamp

Lamp Revamp 

 This post is about how I took a decrepit old lamp and gave it new life. Kind of like Jesus. I was basically Jesus to this lamp.

IMG_4046.jpg

I found this beauty of a lamp at the Salvation Army for $5. I admit, it is not too much to look at, but I felt that it had a good soul, so I grabbed it a headed home. I stopped by Target on my way to peruse the lamp shade selection hoping for something plain that I could spice up with my mad crafting skills.

I found this shade for only $15:

Plain Lampshade 

But then I saw this beauty on CLEARANCE for only 30 cents more: 

Ikat lampshade 

There is no way that I could craft something for 30 cents! Plus, let's be honest, it probably would not have turned out this beautiful. ;-) So I headed off to the home improvement store to get some spray paint. I came home with these:

IMG_4064.jpgIMG_4065.jpg 

Now that the shopping was done, it was time to get to work. The first step was thoroughly cleaning the crusties off the lamp.  Then I sanded it with very fine grit sand paper (220). 

IMG_4057.jpg 

That picture is totally faked! I don't sand left handed, but I couldn't take the picture left handed either. Maybe I need to hire a professional photographer to follow me around and document my crafting...ha!

When you're done it should have small scratches all over it. Not deep gouges. The small scratches give a rough surface for the paint to adhere to. They will be covered by paint. Deep gouges will show. If you are getting gouges it is because you are using to rough a grit of sandpaper. Use a higher grit (read: higher number). 

IMG_4055.jpg

When you are finished sanding. Wipe it down completely to get all of the dusty bits off. At this point I taped off the top and the cord.To prevent paint from getting on them. Any painters or masking tape will do.

IMG_4060.jpgIMG_4061.jpg

Then it was time to prime. I read that thin even coat are the way to go when spray painting in order to prevent drips. Yes, that is true. No, I am not good at that. I found that I am too excited and anxious to get the painting done. My coats were a little too thick. Luckily I did not get any drips.

First coat of primer:

IMG_4062.jpg

A note on primer. Primer is important especially when painting smooth surfaces like metal. It gives the paint something the stick to. Not sanded or primed, the paint would easily flake off...yucky!

I did two coats of primer. Then in was time for PAINT!

IMG_4066.jpg

Ahhh! Would you just look at that gloss. I love it! I used Rust-oleum Navy Blue in the Gloss finish. I would not recommend gloss finish for everything. It shows every imperfection and dust more easily than satin or flat finish, but in a small amount on something like a lamp, gloss is a show stopper! I then allowed the paint to cure out side for about 48 hours before handling it.

There it is in all her glory. It is actually going to live in the basement, but the lighting down there is abysmal for photographing.

IMG_4094.jpg 

Here's a close up of the paint job. 

IMG_4096.jpg

I LOVE that color! What about you? Have you given any old, dated objects new life  with a coat of paint and a new shade recently? Do share!
Photobucket

Friday, November 9, 2012

Minion Nursery Complete!

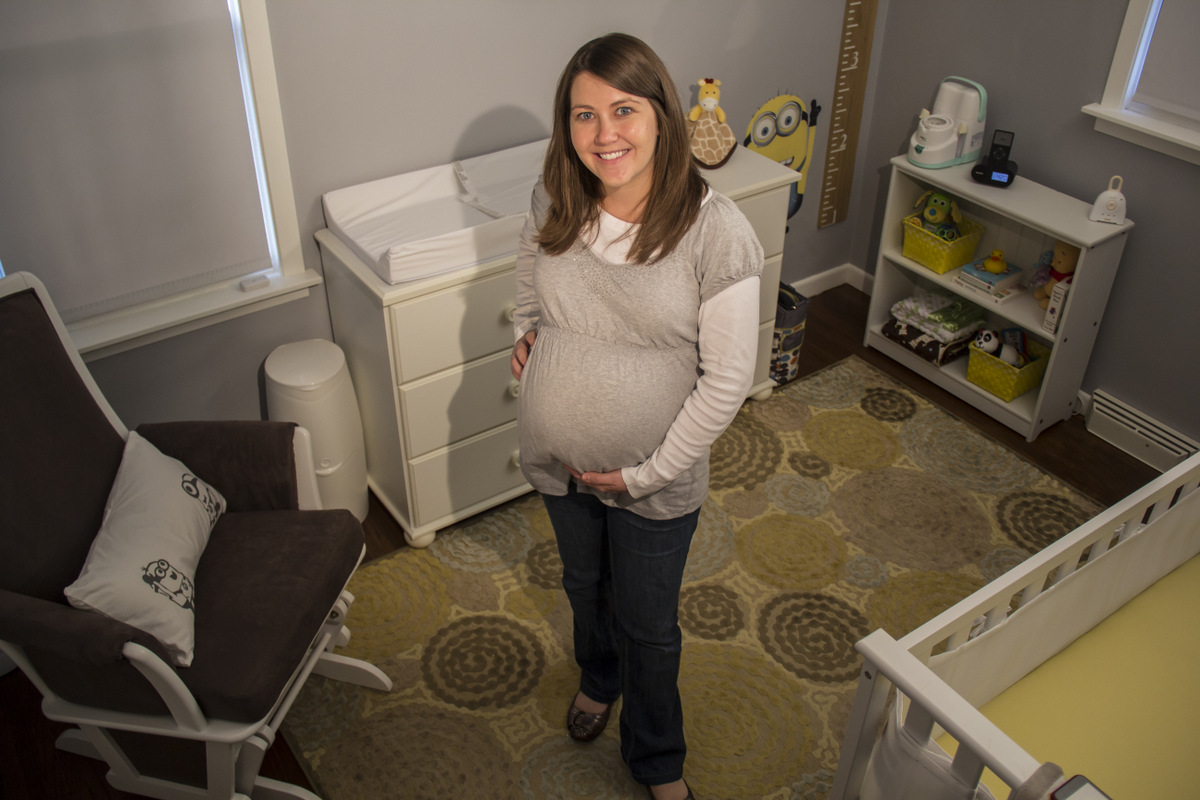
Well folks, with just one week to D-day (AKA My due date) the count down is nearing completion. Luckily for me the nursery project has already  been completed. Mr. Mayhem and I had fun using our new camera (our biggest baby splurge!) to take some nice photos of our hard work. 

We are so happy with how everything came together. It really puts a new mama's heart at ease to know that she has a safe, calming, and comfortable place to bring her newborn home to. 

This first photo is the view as you come in the door. The crib is to the right and the closet is to the left. 


Mr. Mayhem decided that the baby and I needed to be included in the photo shoot. I think this angle gives a good idea of the layout of the room. Remember this first nursery post where I was hell bent on changing the rug? Surprise...it ended up working, and I love it in the space. Amazing how things just work out some times.


Here is the view of the other side of the room. His bed looks so empty, but from what I have read that is the safest way for baby to sleep.  That bear on the crib makes heart beat sounds to sooth the little guy to sleep with reminiscent sounds of the womb.


We opted for a mesh bumper because we have heard concerns about babies being suffocated by the regular kind! I love the crisp white look too. It keeps it simple.


 Let's take a look at some more of the details!  You might remember this little minion from this post and the growth chart ruler from this post! They both add so much fun and interest to the space.


Mr. Mayhem built these shelves from corbels we bought at the home improvement store and some wood we found in the basement left from the previous owners. They turned out great especially considering their humble beginnings. 


Baby Mayhem's first photo got framed and put on the shelf with a little minion friend. My mom bought that minion for us not realizing that it was a Dracula minion with a cape and FANGS! I cut off the cape, but those fangs are still there and crack me up. My mom was so embarrassed when she realized in was a vampire.


We are especially excited about our new rocker glider that we got as a gift (we are so thankful for all the generous people around us!). It is so comfy and will be great to rock the little one in.  Mr. Mayhem built those book shelves on the wall as well. They are knock offs of these Ikea picture ledges. The pillow I sewed, and then Mr. Mayhem and I used this method to paint on the minions.


Like I said, the nursery is done, but that doesn't mean I don't have more ideas for the future. I think once the baby is born and we have announced his name, I will buy the letters to spell it out and intersperse them with these minions on the top shelf.  I may paint them or decoupage them with cute craft paper. You will just have to wait and see! I love the little bit of the cornice box that you can see in this picture!


Now all it needs is a baby! I will let you know when that addition happens. Any day now!

Monday, October 15, 2012

DIY Cornice Box

I'm generally a girl who knows what she wants and sets out to get it. This project is an example of that. I wanted grey and yellow chevron cornice boxes for my nursery and no one was going to tell me "No". It didn't seem like an unrealistic request at the time. Mr. Mayhem whipped up the boxes, and I covered them with batting, but then we hit a snag. I could not find a yellow and grey chevron fabric that I liked. I finally decided to settle for plain yellow chevron. I ordered it from fabric.com, and I love the fabric. It was nice, but the wrong shade of yellow for the nursery. Too mustard. Nice, but not right. Then, I decided to settle again and go for grey chevron. It would be an easier color to match/coordinate with the room.  I found the perfect grey chevron fabric here in town at Hobby Lobby! I decided to wait to buy it until my mom was in town and she could help me finish the cornice boxes. Low and behold, when we went to get the fabric, they were sold out and the warehouse was out of stock as well...sad day. But then standing amongst the crafting supplies lamenting my decision not to buy the fabric the week before when it was it stock, an idea hit me. Paint your own chevron pattern. My mom looked at me like I had a screw loose (I probably do), but she helped me pick out white fabric, acrylic paint, and textile medium. When I got home and announced to Mr. Mayhem what I was planning to do, he rolled his eyes, then rolled up his sleeves to help me. He's a good man.


First, I washed and dried the fabric. Then I cut it to fit the previously constructed boxes. 


This is not really a step in the process, but I like this 3 4 generations photo. My grandma is working a crossword puzzle, my mom is hemming my maternity pants, I'm ironing the fabric, and the baby is just hanging out (probably having the hiccups. They are his favorite way to pester mom :-))


Then the complicated part started. We had to measure and do math...blah! Luckily Mr. Mayhem did most of the figuring. We decided we wanted 5 in. chevrons and each chevron would be 3/4 in. wide. We decided 3/4 because that was the width of our tape. We went along the fabric pinning each place the tip of a chevron would be using a measuring tape.


As you can see, we used a lot of pins. Then, we used frog tape to tape between the pins and reveal our chevron pattern.


I'm not going to lie. It took forever. Especially since we had two pieces of fabric to do.


This is what it looked like when all the tape was applied. I would wholeheartedly recommend frog tape. It is easy to work with and provides a great seal--even on fabric. I had never tried it on fabric before.


Then, I painted my pattern. Two yellow stripes, one grey stripe. I used Anita's acrylic craft paint mixed 2 parts paint, one part textile medium.


We let it dry a little, but not all the way, then we carefully peeled off the tape.


This is what we were left with. Perfect chevron fabric, in the perfect colors for the nursery. Lots of work, but worth it. The rest of the project went as smoothly as planned.


Let's back up a bit to the construction of the boxes. It is really fairly simple. We bought a piece of 10"x 1/2" pine. I don't remember the length, but it is not really important because you would need to get the right size for your window anyway. We made them to extend just a few inches passed the window trim and jut out from the wall 4". 

We drilled and counter sunk three screws on each corner. 


We also attached some L brackets to hang them with. Pine is a really good wood for this project because it is very light.

Now that we had the fabric and the boxes finished, we were ready to put it all together. We simply stapled batting then the fabric around the boxes. We were careful to pull the corners tight and make sure everything was straight and wrinkle free.


Then we hung them up! I love them! What a great touch of color and fun to our little guys nursery. This is a good picture to see how far out they jut from the wall. We picked 4" in case we ever want to add curtains underneath. We would need 4" for a curtain rod.


The other window.


Just a few more touches and the nursery will be all set for little Mayhem's arrival! Can't wait!


Wednesday, August 22, 2012

Growth Chart Ruler

Everyone and their dog on pinterest has been making a DIY ruler growth cart. With my little one on the way I decided to jump on the bandwagon too! I think the look is such a fun, oversized, comic take on a traditional school supply. While ours didn't turn out quite as authentic looking as we planned, we love how it looks in our little guys space! Here's the play by play!

We purchased a 6ftx6inx1in. piece of oak. It was presanded, but Mr. Mayhem went over it with fine grit sandpaper just to be sure.


After a good wipe down, we stained it with Minwax in Puritan Pine.


 Mr. Mayhem stained it (wearing my dishwashing gloves) while I ran for the hills to avoid any fumes that would cause the baby to come out with a third arm or something.


See how pretty the color is!?


We then drilled two holes. One at the top and one at the bottom. We wanted to be able to attach it to the wall very securely. It will be close to the ground (1 foot up), so we didn't want the baby to pull it down once he starts wiggling around.


We then carefully measured the hash marks and taped them off to paint them. We did three different lenghts. 3 inches long each foot, 2 inches long every 3 inches, and all the rest were 1 inch long.


See what I mean in this picture. Little, medium, and long lines.


Then I hid out somewhere and probably ate some chocolate while the white spray paint went on. We had originally planned to use black, but decided with the white trim and furniture in the room, white would be a clean, contemporary look.


We (Mr. Mayhem) did 2 coats then we carefully pulled the tape off while it was still wet. I think this was my favorite part of the project.


Here it is with all its cute little lines. 


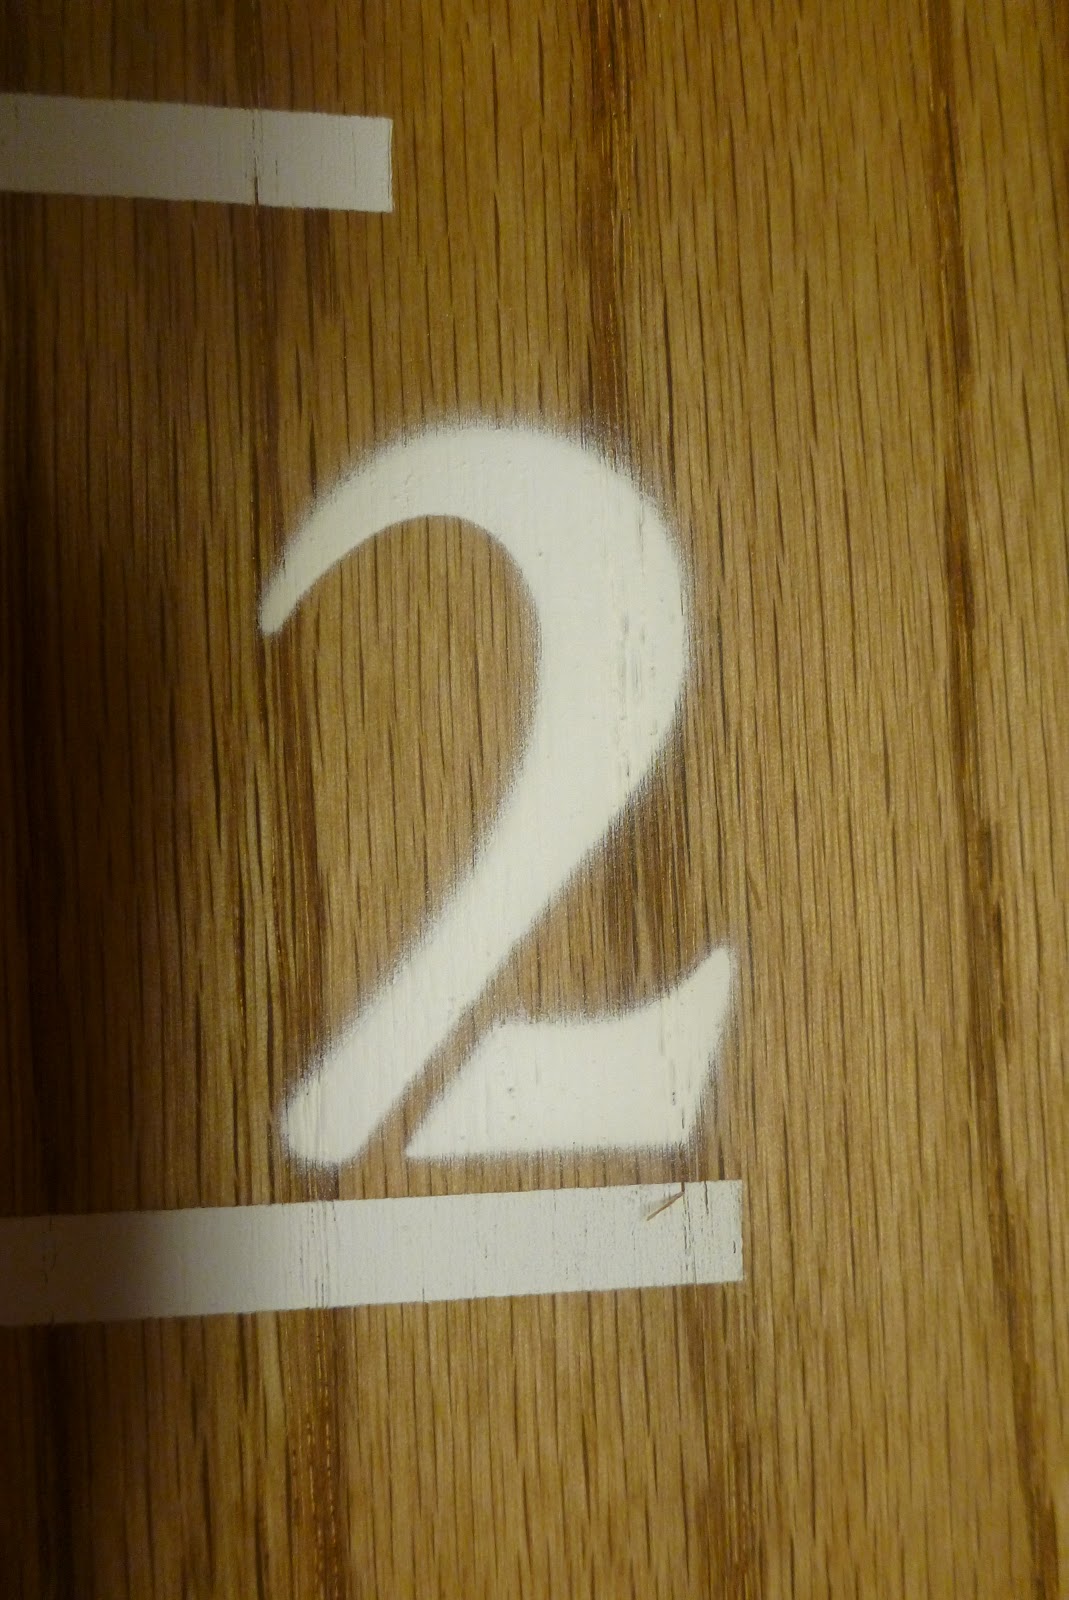
To add the numbers we used some 2 inch stencils I got at Hobby Lobby.


Measured carefully. 


Then taped them down and covered everything securely with newspaper. (Proof that I did help with this project...just not the stinky paint parts :-) )


Another round of paint.


It is starting to look like a ruler.


The numbers were a little bit uncrisp for my liking. I think if I changed one thing about how I did this project it would be to buy some stencil adhesive and actually stick the stencils down to the wood to prevent the over spray. Or paint the numbers by hand. Using one of those vinyl cutting systems with adhesive vinyl would work too, I just don't have one. 


To finish everything and make it super durable, Mr. Mayhem did three coats of Varathane Matte water based polyurethane.

We started the ruler at 1ft and then were careful to measure and hang it 1 ft off the floor so it will be an accurate measure of height.  I think it will be so fun to mark my little man's growth through the years. I love that we can take it down if we ever move. We are also planning to document any future children on this ruler as well. The ruler